You see, when you dismantle an R2-D2, then do a complete rebuild on a new frame, all those parts that were "complicated" the first are even more so the second time around!
One consistent problem I have had with R2 has been the center vents. Little fingers like to get in there and push/shove/bend things out of alignment. Over the years, I have simply tightened the set screws on each side when they got loose and had some movement. However, with a new frame and new side rails holding them in place, new things had to be added.
And the sheet metal piece, painted blue, that goes around them seems to get bent and mangled rather quickly. Since there is little surface area for it to adhere to on the skins, its problematic.
Who knew a droid's life could be so complicated, right?
The first thing I set out to do was to take that vent surround piece and place the surrounds in them. This helps act like a 'template' to temporarily place them into the vent rails, as the spacing between the top and bottom vents are essential. Then I use some 10-24 thread screws to hold them in place...
 |
| Making sure everything is lined up and centered... |
Now for more challenges...how to mark the vent surrounds. A pencil won't fit and nor will a magic marker. Its a tight spot.
Then it dawned on me....use that blue metal dye I have been using on R2 #2. It dries extremely fast and would work perfectly to mark a spot.
I chopped down most of a Q-tip and dabbed a bit of the dye on the tip. I gently removed one screw at a time, then dabbed some of the Dykem dye thru the mounting holes.


 |
| Blue markings show where to drill a shallow hole so the set screws can better grip and hold the vents in place |
You can see where the previous shallow holes were drilled (I say holes but I did not drill all the way thru). With the placement of the holes marked, its just a matter of using the center punch and drilling into each blue dot.

With the skins off, its time to use the set screws...we line them up to the new holes and gently screw them into position

While doing this, I took the vent surround piece and tried to remove some of the bends in it. I then sanded off all the paint, then on the other side, sanded off all the old, dried up adhesive. I still have some of the paints used for this R2, thankfully.

While snapping a picture of the newly painted and clear coated piece, my cat "Mokey" did the Photo Bomb thing. Just as I was taking the picture, he leaned in to smell the piece. That's my boy!
 |
| It passed the sniff test! |

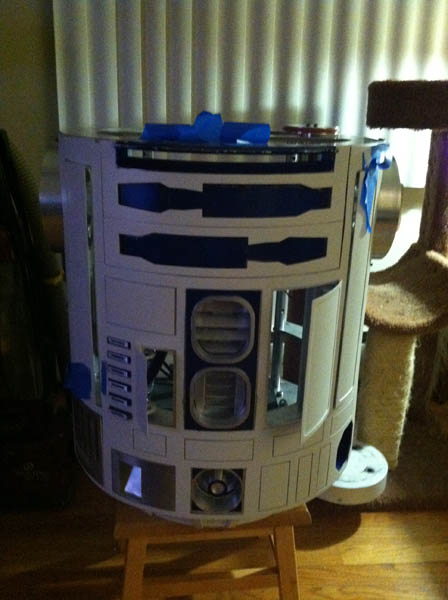
And here's how it looks today with the tape removed...